


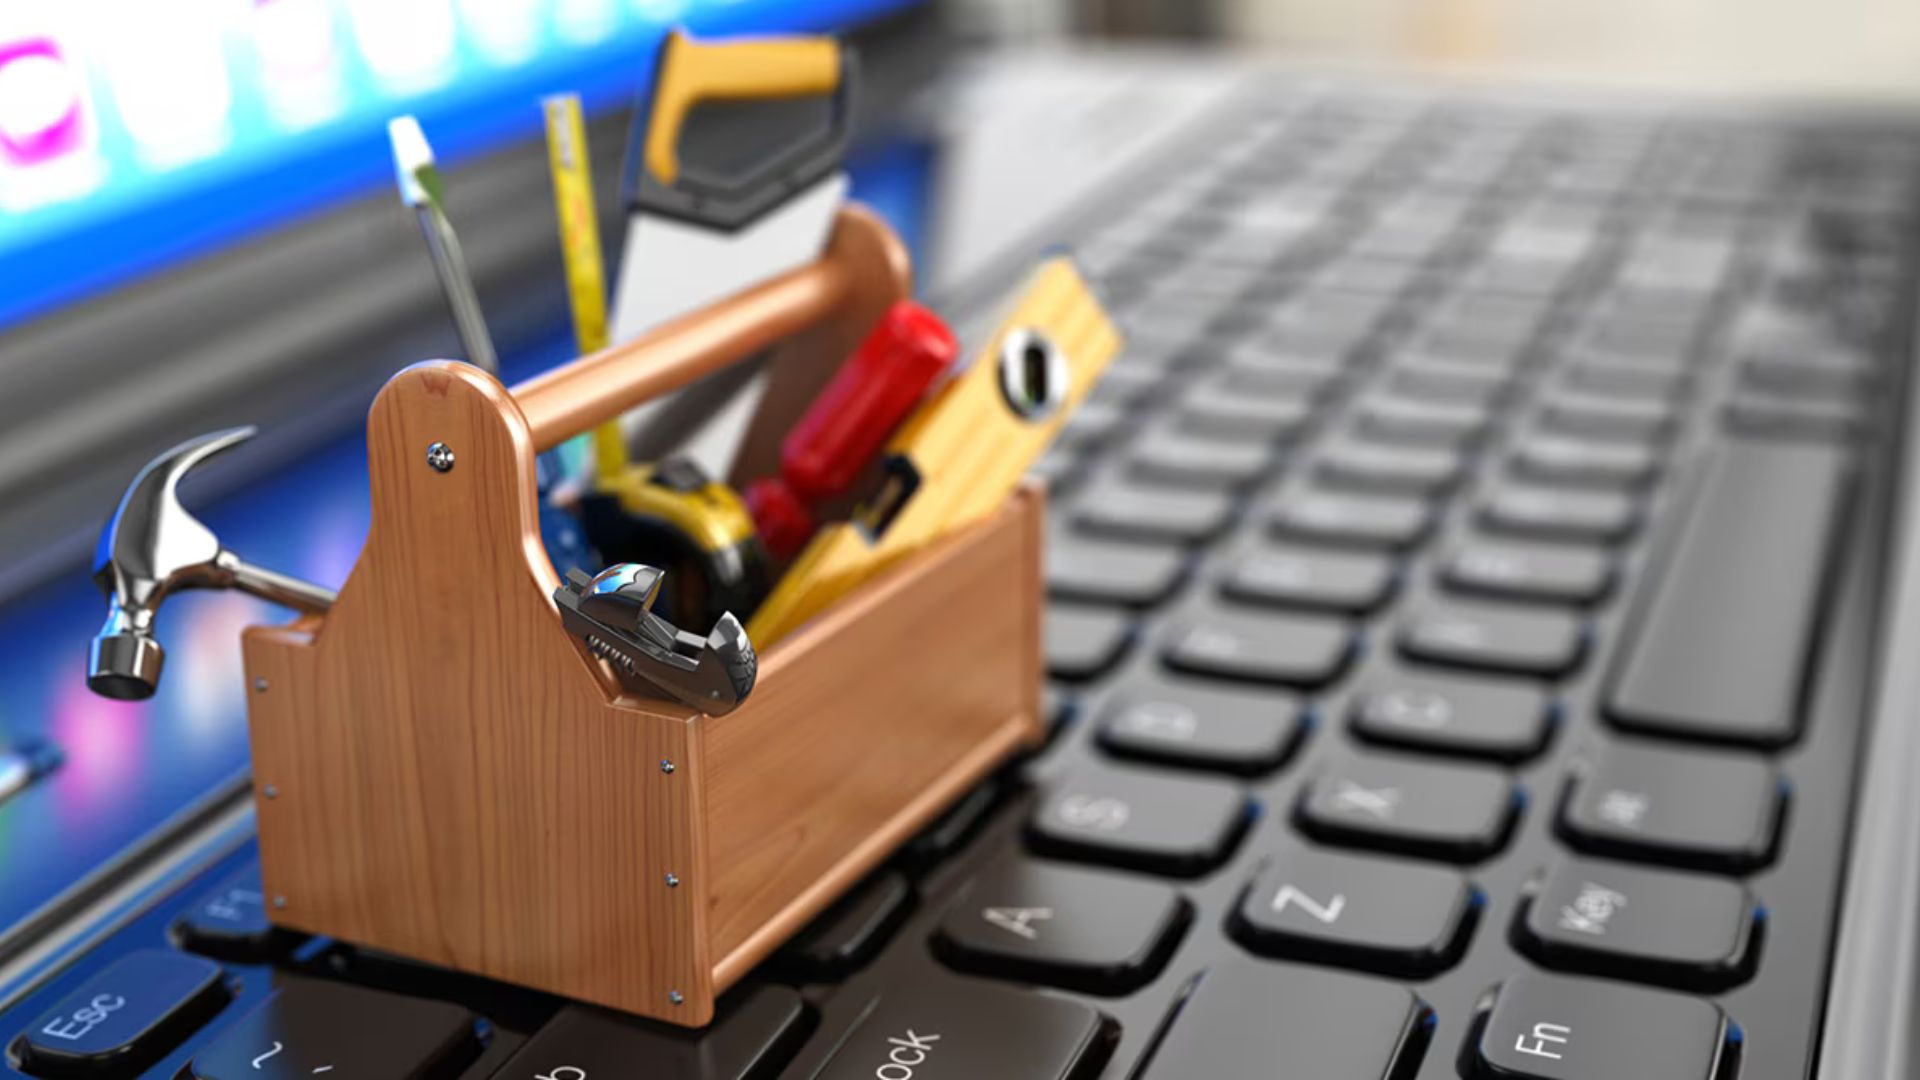
Upgrading your computer hardware can boost performance, extend the life of your machine, and enhance your overall computing experience. Whether you’re a gamer looking to increase frame rates, a content creator in need of faster processing, or someone simply wanting a smoother experience, upgrading your hardware is an effective solution.
In this guide, we’ll walk you through the process of upgrading your computer hardware, from choosing the right components to installation tips for a hassle-free upgrade.
1. Assess Your Current System
Before jumping into any hardware upgrade, it’s important to assess your current system. This will help you identify which components need an upgrade and ensure that your new parts are compatible with your existing setup.
What to Check:
-
CPU: Are you running a processor that’s outdated or struggling with performance?
-
RAM: Do you need more memory for multitasking or resource-heavy applications?
-
Storage: Is your hard drive (HDD) slowing you down, or is your SSD too small for your needs?
-
GPU: Are your graphics card and display capabilities holding you back, especially in gaming or content creation?
-
Motherboard: Does it support newer components like DDR5 RAM or PCIe 4.0?
Once you identify the components that need an upgrade, you’ll have a clearer idea of where to start.
2. Select the Right Components
Choosing the right parts for your upgrade is crucial to achieving the best performance. Here are some key components you may want to upgrade:
CPU (Processor)
If your system feels sluggish during multi-tasking or gaming, upgrading your CPU can make a noticeable difference. Look for a processor with more cores, higher clock speeds, and better multi-threading performance.
-
Intel: Look for 12th or 13th Gen Core i7 or i9 for powerful performance.
-
AMD: Ryzen 7 or 9 5000 series for gaming and productivity.
RAM (Memory)
Upgrading your RAM can improve performance, especially if you’re running multiple programs at once. Consider upgrading to 16GB or 32GB of DDR4 or DDR5 RAM, depending on your motherboard’s compatibility.
-
DDR4 is sufficient for most users.
-
DDR5 offers higher speeds and efficiency but requires a compatible motherboard.
GPU (Graphics Card)
For gaming, 3D rendering, or video editing, upgrading your GPU is essential for improved graphics performance. Popular options include:
-
NVIDIA GeForce RTX 30 or 40 Series: Great for high-end gaming, ray tracing, and AI tasks.
-
AMD Radeon RX 6000 or 7000 Series: Offers great value for gaming and creative professionals.
Storage (SSD or HDD)
Switching to a Solid-State Drive (SSD) or upgrading to a faster one can drastically reduce boot and load times. Consider upgrading from an HDD to an NVMe SSD for improved speed.
-
For storage capacity: A 1TB or 2TB NVMe SSD is ideal.
-
For additional storage: Combine a smaller SSD for your OS and apps with a larger HDD for file storage.
Motherboard
When upgrading other components, your motherboard must support them. Ensure it’s compatible with the new CPU, RAM, and GPU. Look for newer models with PCIe 4.0 or PCIe 5.0 for future-proofing.
Power Supply (PSU)
A new GPU or processor might require more power. Make sure your power supply can handle the increased demand, especially if you’re installing high-performance components.
-
For most upgrades, a 750W to 1000W PSU should suffice, but higher-end setups may need more.
3. Prepare for the Upgrade
Once you’ve selected the components, it’s time to prepare for installation. Here’s what you need to do:
Backup Your Data
Before making any hardware changes, back up your important files. While upgrading hardware typically doesn’t affect your data, it’s always better to be safe than sorry.
Gather the Tools
You’ll need the following tools:
-
Screwdrivers (usually Phillips-head)
-
Anti-static wrist strap to prevent damaging sensitive components
-
Thermal paste (if replacing the CPU cooler)
-
Cable ties to keep cables neat and organized
Check Compatibility
Double-check that all your new components are compatible with your system. For example, make sure your new GPU fits in your case and that your motherboard supports your new RAM and CPU.
4. Install the New Hardware
With everything prepared, you can now start installing the new hardware. Here’s a general step-by-step guide:
Step 1: Power Down and Disconnect
Turn off your computer, unplug all cables, and open the case. If you’re upgrading a laptop, ensure the battery is removed (if possible).
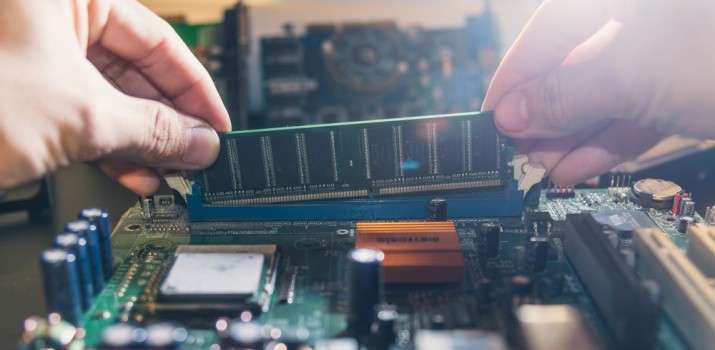
Step 2: Install the RAM
If you’re upgrading the RAM, locate the memory slots on your motherboard. Gently insert the RAM sticks into the slots until they click into place. Be sure to install them in the correct configuration, typically alternating slots for optimal dual-channel performance.
Step 3: Replace the CPU (Optional)
If you’re upgrading the CPU, remove the old one by lifting the retention lever. Carefully place the new CPU in the socket, ensuring it’s aligned properly, and close the lever to secure it. Apply fresh thermal paste to the CPU before installing a new cooler, or reattach the existing one.
Step 4: Install the GPU
For the GPU, remove the metal slot covers from the case, insert the card into the PCIe slot, and screw it in place. Connect any necessary power cables from the PSU to the GPU.
Step 5: Add or Replace Storage
For SSDs or HDDs, connect them to the motherboard using the appropriate data cables (SATA for HDDs and SATA SSDs, or NVMe for M.2 SSDs). If you’re replacing a drive, make sure to install it securely in its designated slot.
Step 6: Connect the Power Supply
If you’ve upgraded your PSU, connect all necessary cables to the motherboard, GPU, and storage devices. Ensure that everything is plugged in properly, especially the 24-pin connector for the motherboard and the 6- or 8-pin connectors for the GPU.
Step 7: Close the Case and Reconnect
Once all the hardware is installed, carefully close your case and reconnect all cables (keyboard, mouse, monitor, etc.).
5. Test and Optimize Your New Setup
After installing the new hardware, it’s time to power up your system and make sure everything works as expected.
Check for BIOS/UEFI Updates
If you’ve replaced the motherboard or CPU, check for any BIOS or UEFI updates to ensure compatibility with your new components.
Install or Update Drivers
Install the latest drivers for your GPU, motherboard, and storage devices. This ensures that all components are fully compatible and perform at their best.
Benchmark Your System
Run some performance tests or benchmarks (such as 3DMark for gaming or CrystalDiskMark for storage) to verify that your system is running at peak performance.
6. Troubleshoot Any Issues
If something isn’t working correctly, here’s what you can do:
-
No Boot: Check if all power cables are properly connected, especially to the motherboard and GPU.
-
System Freezing: Double-check RAM seating or reseat the CPU cooler if necessary.
-
Low Performance: Update drivers, reset BIOS settings, or check for thermal throttling.
Conclusion
Upgrading your hardware is a great way to boost your system’s performance and extend its lifespan. With careful planning, the right components, and some attention to detail, you can transform your old computer into a high-performance machine.
Remember to assess your needs, select compatible components, and follow the installation steps carefully. By doing so, you’ll ensure that your upgraded system runs smoothly and efficiently for years to come.


